How To Make Patches With An Embroidery Machine
Are you trying to find embroidery patch designs and want to know how to make patches with an embroidery machine? Then I must say welcome to a world where imagination twirls with threads, and technology turns dreams into reality.
How To Make Patches With An Embroidery Machine
Whether you are a skilled sewer or an excited beginner. We’ll lead you through some unique processes (in this article) for making embroidered patches.
Just get ready to explore the art behind every thread from the simplicity of hand-stitched patch design to the confluence of crafts and techniques.
Let’s just turn your everyday fabric into a wearable masterpiece that will show your own personal story.
Things you need before Patching Fabric
Before moving forward to embroidery patches, you’ll need to gather some essentials first. These essentials will turn your brilliant ideas into colorful realities.
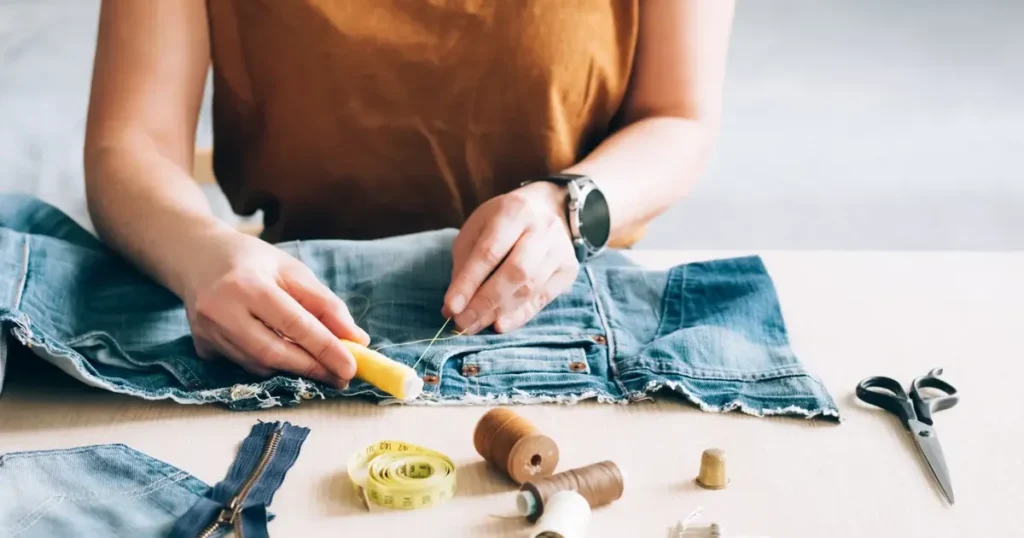
These key things are as follows:
- Embroidery Machine: This amazing device will work like a magic by creating designs out of threads.
- Fabric: This piece of your preferred cloth will act as a background for your artwork.
- Stabilizer: It will hold your fabric firmly when you’ll start sewing your pattern.
- Design: Select a stunning pattern to be stitched onto your fabric.
- Embroidery hoop: This is a strong frame that will keep your fabric in place while embroidering.
- Embroidery thread: Choosing threads of different colors will add glory to your design.
- Scissors: This cutting tool will help in cutting threads and cloth.
Steps For Making Embroidered Patch Design With a Machine
Let’s get started on making stunning patches that come to life with the help of an embroidery machine.
Step 1: Get Your Fabric Ready
First of all, take your selective fabric for embroidery patches like cotton, denim or canvas(that can easily withstand your stitching). After that, place it in the embroidery hoop. It will prevent the fabric from tangling and will create a smooth surface for making embroidery patches.
Step 2: The Stabilizer Setup
Take a cut-away stabilizer for your embroidered patches based on your fabric quality. After that, cut the stabilizer a little bit larger than the hoop size. Now, attach it to the back of the cloth. This will give support and will prevent distortion during sewing.
Step 3: Insert The Patch Design
Now, insert the patch design into the embroidery machine. If you are using any digital file, then transfer it by using the USB drive. After that, make a position and align the fabric pattern by using the machine’s interface. (Alignment tools are available on some machines to ensure accurate placement).
Step 4: Start Your Embroidery Machine
Before starting the machine, make sure the hoop is properly attached, the needle is inserted with the correct color and the tension settings are exact. Now, start your embroidery machine and check if the machine is embroidering correctly or not. In this way, the machine will stitch each part layer by layer according to the programmed pattern.
Step 5: Remove The Hoop
Once the machine is done with embroidering, remove the hoop from the machine smoothly. Now, pull the fabric gently from the hoop by keeping in mind not to distort it. After that, cut any unnecessary threads from the front and back of patch by using scissors. By doing this, you can achieve clean and smooth edges.
Step 6: Give It a Press
Now, turn the patch over and iron it flat by using an ironing board. Remember to place an extra thin fabric piece over the patch to protect it from direct heat. Also try to avoid dragging the iron as it can cause the threads to move.
Step 7: Patch It Up
Finally, your patch is ready to be fixed on your desired item. Choose whether to sew it on or use fabric glue. If sewing, then thread the needle with matching thread and then stitch it around the patch edges securely.
If glueing, apply the glue to the back of the patch and then press it onto the item carefully. Also, make sure to avoid touching the glue with your hands as it can cause irritation.
READ ALSO: Best Sewing Machine For Making Pillows
How To Make Patches Without an Embroidery Machine
As I have mentioned above the steps for making patches with a machine. Now it’s time to make embroidery patches by hand (without an embroidery machine).
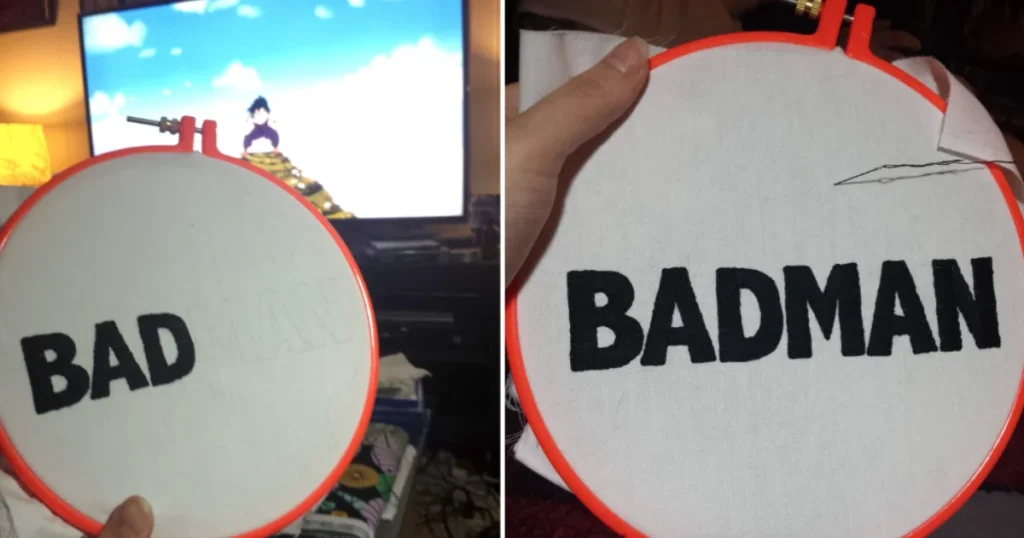
Here’s a step-by-step guide on making your own patches that are full of personality!
Step 1: Gather Your Materials
First and foremost, you have to gather material for embroidery patches. These materials include fabric, fabric glue, scissors, a pencil, some design ideas and iron-on sticky sheets. In short, choose the design that suits your personal taste and patch design!
Step 2: Design Your Patch
After gathering materials, create a patch design that captures your personality or a message you want to convey. It can be a unique shape, a favourite quotation or a lovely artwork. For best results, you should sketch your desired patch design onto a piece of paper to use as a template.
Step 3: Trace and Cut
Now, place your designed template onto the fabric to trace it down with a pencil. Once you have traced the design, just carefully cut the fabric by using sharp scissors. Also, make sure to make neat edges and smooth lines.
Step 4: Iron-On Adhesive
Lay down your fabric cut-out on top of the iron-on adhesive sheet and start tracing around it. Once you have traced it, cut out the adhesive along the traced lines. Then place the adhesive sheet on the backside of your fabric patch. Also, check out the adhesive packaging to activate the glue as directed!
Step 5: Shape It Up
Trim out the extra adhesive sheet leaving a small border around that fabric patch. The border will help seal the edges and prevent unraveling as well.
Step 6: Glue It Down
Apply the fabric glue to strengthen the patch edges. It will ensure your patch looks neat and professional. However, for a seamless finish, make sure to choose a fabric glue that dries clearly!
Step 7: Let It Dry
Let your fabric patch dry thoroughly. This step is important as it ensures the patch is stuck securely and can withstand wear and tear. Besides, your perseverance will pay off in a long-lasting and well-crafted patch (guaranteed).
Step 8: Attach Your Patch
Finally, the most exciting part has arrived! Choose where you want to locate your embroidery patch. Once you have found the perfect spot, place it on and make it secure by using glue. To ensure an unshakable bond, place a heavy book or weight over it until it dries.
Remember, making patches without an embroidery machine is all about expressing your individuality and personal style. So, by following these simple steps, you can turn a plain fabric into a unique piece of art that speaks volumes about you.
How To Make Iron-On Patches At Home
Creating your very own embroidered iron-on patches at home is an easy and fantastic way to personalize your garments. Let’s dive into this fun DIY project that will show your own artistic style in no time!
Step 1: Arrange Your Materials
Firstly, gather your materials such as a fabric with your favorite color, embroidery floss and a hoop, a designed template, scissors, an iron, iron-on adhesive sheets and of course an item you want to be patched.
Step 2: Place Your Fabric
If you are an embroidery beginner, then keep your things simple at first. Start creating your patch design by making sketch on a paper. Then trace it on your fabric. After that, place your fabric in an embroidery hoop and keep it tight.
Step 3: Stitch Away
Once you are done with the hoop. Just thread your embroidery floss and start stitching. However, the backstitch is a great option to help outline your design, if you’re a newbie! In case, you feel more advanced, then must try satin stitches and French knots for more elegance. Because creativity is what counts!
Step 4: Remove Fabric From Hoop
When you are finished with your pattern the stitching looks perfect. Just remove the fabric gently from the embroidery hoop. To prevent unraveling, cut down any excess fabric around your design, leaving a small border. Also, trim loose threads to add more neatness and charm!
Step 5: Iron-on Adhesive
Now, take out your iron-on adhesive sheets. Place your embroidered item on a flat surface, design side down. And then trace it on the adhesive paper. Once you have done this, cut out the adhesive along your traced lines.
Step 6: Heat It Up
Place your embroidered patch onto your desired item, design side up. Then warm up your iron to the temperature mentioned on the adhesive packaging. Also, cover your patch with a thin fabric piece to prevent direct heat. And then press it down firmly for at least 20 seconds.
Step 7: Cool and Admire
Remove the cloth gently and let your newly attached patch cool down. When you are sure it’s cool enough to handle. Give it a soft pull to check whether the patch is bonded securely or not.
Step 8: Show off your creativity
That’s it; you’ve just finished a custom iron-on patch. Attach it to your favorite jacket, jeans or whatever you like. And then wear it with joy by spreading your unique sense of style everywhere!
How To Embroider a Patch On a Hat?
Embroidering a patch onto a hat is a fun way to express yourself through your headwear. With a little touch of patience and creativity, you can turn a boring hat into a special style accessory. Here are some simple steps to help you embroider a patch onto a hat.

Step 1: Gather Your Materials
Begin by gathering all necessary materials like a hat, an embroidered patch, embroidery floss in similar colors, an embroidery hoop, a needle, scissors, and a fabric adhesive.
Step 2: Choose Your Design
After gathering all the materials, choose a patch that suits your style and the hat’s fabric. Now decide, where you want your patch to be placed on the hat. On the front center, off to the side or on the brim—the choice is yours!
Step 3: Prepare Hat and Patch
Once you have decided on the exact place of the patch, put the hat on a flat surface. Now, iron it carefully to smooth out any creases. Iron the patch also (if needed) to make sure a smooth and perfect surface for stitching.
Step 4: Embroidery Hoop Set Up
Insert the inner hoop (embroidery hoop) inside the hat, adjusting it underneath the patch’s targeted location. After that, place the outer hoop over the inner hoop firmly and then tighten the screw to secure both the hat and patch.
Step 5: Thread the Needle
Now, it’s time to choose a color of embroidery thread that matches your cap and the patch. Once you have decided on the color, thread a length of floss through the needle and tie a knot at the end.
Step 6: Start Stitching
Slide the needle up from the hat’s bottom gradually, passing through the one edge of the patch. Now, create a simple stitch by passing the needle back down through the other patch edge. Repeat this step to create a line of stitches along the patch’s border. Keep your stitches equal and tight also!
Step 7: Thread Security
Once you’re done with stitching, tie an extra knot on the underside of the hat to make it more secure. After that, hide the knot within the fabric layers to make it invisible. In this way, you can maintain your backside neat and smooth.
Step 8: Finishing Touches
Gently remove the hat from the embroidery hoop. Then cut any extra fabric from the patch edges, if needed. Also, check if there are any loose threads, and cut them thoroughly.
Step 9: Use Fabric Glue
For long-lasting results, place a small amount of fabric glue along the patch’s border underside of the hat. This step helps you prevent unraveling and ensures your needlework’s durability!
By following these steps, sewing a patch on a hat by hand can add an attractive shine to your hat’s style. So, just go ahead, gather your materials and start making it!
How To Digitize Embroidery Patches?
Let’s take a step-by-step look at how to digitize a patch using an embroidery machine to make your imagination come true!
Step 1: Image Plan
First, think about how your patch should look. What colors and shapes should you choose? Visualize it in your mind!
Step 2: Computer Setup
Once you’ve imagined the basic design, launch a specific computer programme. It’s a sort of tool that will make your patch look digital. Now insert your patch image here!
Step 3: Follow the Lines
Now, use the program to draw lines on your patch image. Assume each line is a thread. This step will convert your patch into a digital form.
Step 4: Stitch Design
Decide how each portion of your patch will be sewn. However, some stitches will be short while others may be long. It will add a texture to your patch.
Step 5: Color Fun
Choose colors for your patch—try painting with threads! After that suggest to your computer which color should go where on your digital patch.
Step 6: Check Perfection
Examine your digital patch attentively. Check if the lines and colors are perfect or not. If something is not perfect, fix it immediately!
Step 7: Save and Send
When you are finished with your digital patch. Save it in a format that the embroidery machine can understand. Then send it to the machine.
Step 8: Identify Your Patch
As soon as the embroidery machine will identify your patch, it will begin to sew. It is just like a robot artist that will bring life to your digital patch.
Step 9: The Finishing Touch
After the machine is done, take your patch out of it. Cut off any excess threads. Finally, you’ve got a real patch in your hands that you can touch and show off!
With these steps at your fingertips. You can create a digital masterpiece as well as a genuine stitched patch out of your computerized patch. So, just get ready to wear your uniqueness with style!
FAQs
What material do you use to embroider patches?
To embroider patches, we use special fabrics such as cotton or denim. These fabrics are strong enough to withstand the stitches and threads we apply. Also, they act like a blank canvas for our colorful artwork.
What is the best stitch for embroidery patches?
The best stitch for embroidery patches is known as “the satin stitch”. It’s like painting with thread. This stitch covers a large area very quickly and smoothly. Besides, it’s perfect for giving a patch cool and textured look.
What stitch do embroidery machines use?
There are three basic stitch types that an embroidery machine mostly use. These are “run stitch, satin stitch and fill stitch”. These stitches work like building blocks that enable you to create wonderful designs.
What embroidery needle to use for patches?
I often work with a size 12 applique needle. Just start by threading the needle with size 50 thread. This will make your stitching easier.
How do you make a patch without sewing?
It’s very simple to make a patch without sewing. You can use fabric glue or an iron-on adhesive. Simply glue the back of the patch and attach it to your cloth. If you have an iron-on adhesive, just heat up the iron and press it on the patch. In this way, your patch will stay in place without sewing.
Conclusion
In this complete blog post, you’ve learned how to make patches with an embroidery machine by hand or even through digital design. From choosing materials and patterns to sewing and attaching patches. Each step has been defined in a way that can help you bring your dreams into existence.
