How To Thread A Sewing Machine?
A well-threaded machine is the secret to consistent and smooth stitches. This allows your fabric to flow effortlessly and your creativity to soar. In this comprehensive guide, you are going to discover 5 easy steps to thread a sewing machine.
The thread keeps breaking, causing frustration to bubble up inside you. When stitches are uneven, and the fabric refuses to glide smoothly under the presser foot, you may feel frustrated.
How To Thread A Sewing Machine?
So, are you ready to embark on this sewing adventure? Grab your sewing machine, a spool of thread, and let’s dive into the step-by-step process of threading. Get ready to sew with ease, precision, and a newfound confidence in your stitching abilities!
Before diving into the threading process, it’s important to familiarize yourself with the different types of sewing machines, their essential parts, and the features and controls they offer.
Different Types of Sewing Machines and Their Functions:
There are various types of sewing machines available in the market, each catering to different sewing needs. Understanding the different types will help you choose the right machine for your projects. Here are some common types:
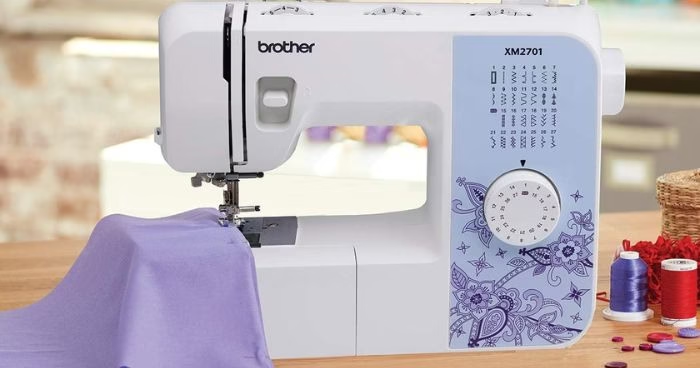
Mechanical Sewing Machines:
Basic machines are suitable for beginners and those who prefer simplicity.
Computerized Sewing Machines:
Advanced machines with built-in computer technology for versatility and precision.
Overlock Machines (Sergers):
Specialize in creating professional-looking seams, finishing edges, and sewing stretch fabrics.
Embroidery Machines:
Designed specifically for embroidery projects with built-in designs and patterns.
Quilting Machines:
Equipped with a longer arm and special features for quilting large projects.
READ ALSO: Best Sewing Machine For Heavy Fabrics
Basic Sewing Machine Parts Every Beginner should know:
Familiarizing yourself with the essential parts of a sewing machine will make the threading process smoother. Here are some key parts to know:
Spool Pin:
Holds the spool of thread during threading.
Tension Discs:
Control the tension of the thread for balanced stitches.
Take-Up Lever:
Moves up and down, controlling the amount of thread pulled during each stitch.
Bobbin Case:
Holds the bobbin, which provides the lower thread for stitching.
Presser Foot:
Holds the fabric in place while sewing.
How To Put Thread In a Sewing Machine For Beginners?
Understanding the features and controls of your sewing machine will help you make the most of its capabilities. Look out for controls such as stitch selector, stitch length and width adjustments, reverse stitch button, needle positioning, and speed control.
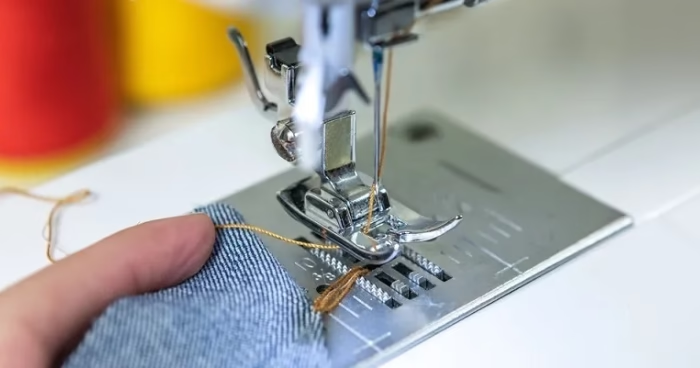
1. Threading the Upper Thread:
Threading the upper thread is a crucial step to ensure proper stitch formation. Follow these step-by-step instructions:
Step-by-step process of threading the upper thread:
- Refer to your sewing machine’s manual to locate the specific threading points.
- Place the thread spool on the spool pin and secure it.
- Guide the thread through the designated thread guides or tension discs.
- Thread the thread through the take-up lever.
- Continue threading through any remaining guides until you reach the needle area.
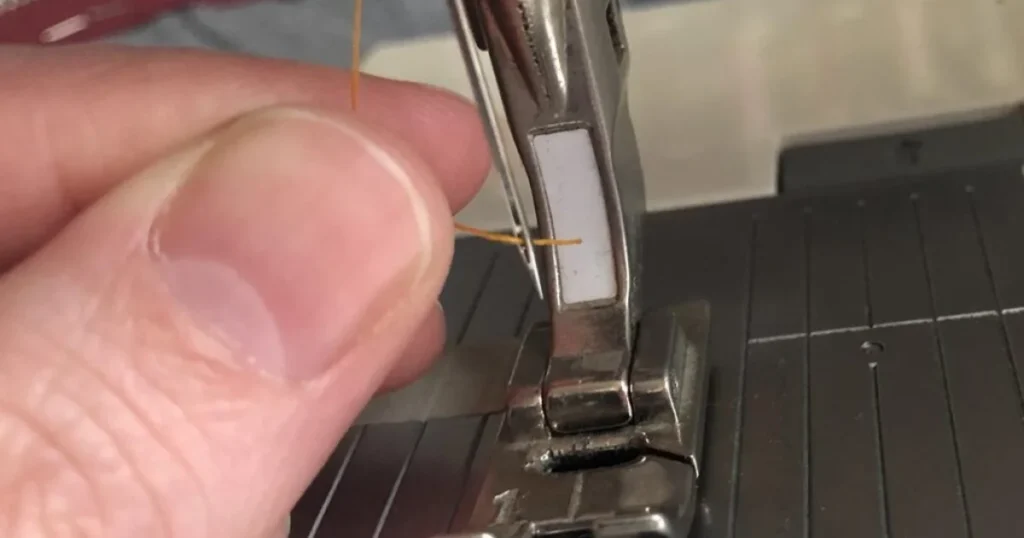
- Thread the needle from front to back, following the machine’s instructions.
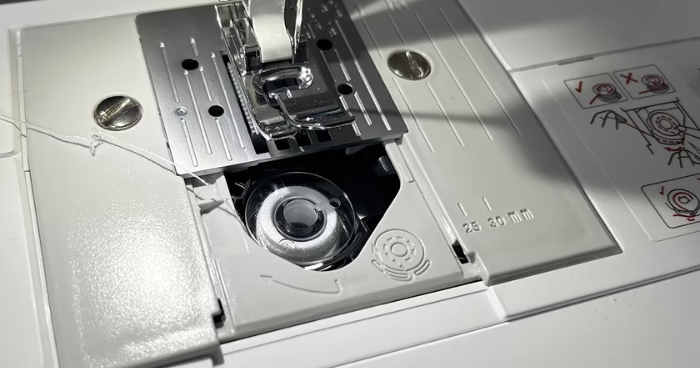
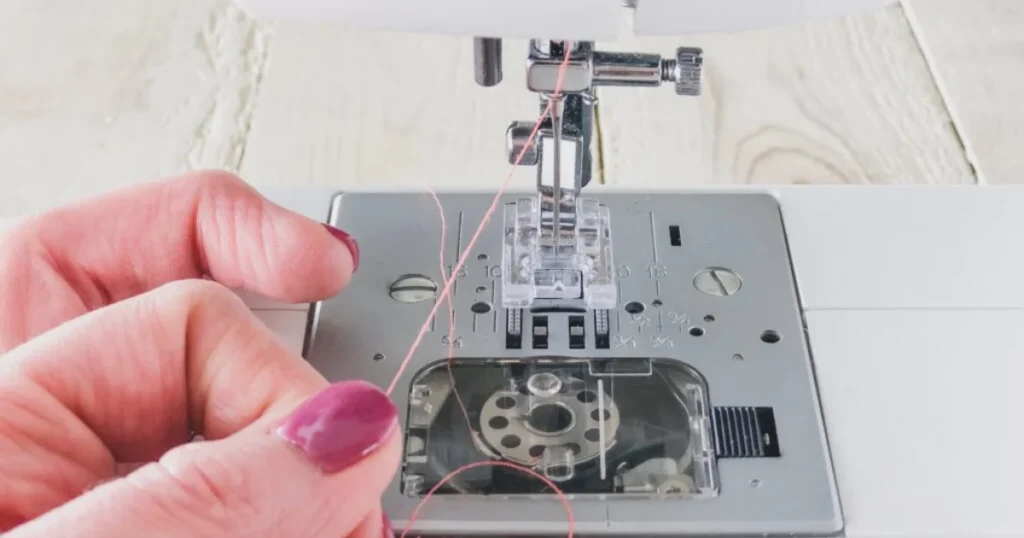
2. Inserting the Bobbin:
Inserting the bobbin correctly is crucial for smooth stitch formation. Follow these steps:
- Locate the bobbin case or compartment on your machine.
- Open the case or remove the cover.
- Hold the bobbin so that the thread unwinds clockwise.
- Place the bobbin into the case or compartment.
- Position the bobbin according to the threading guides or arrows.
- Close the case or replace the cover securely.
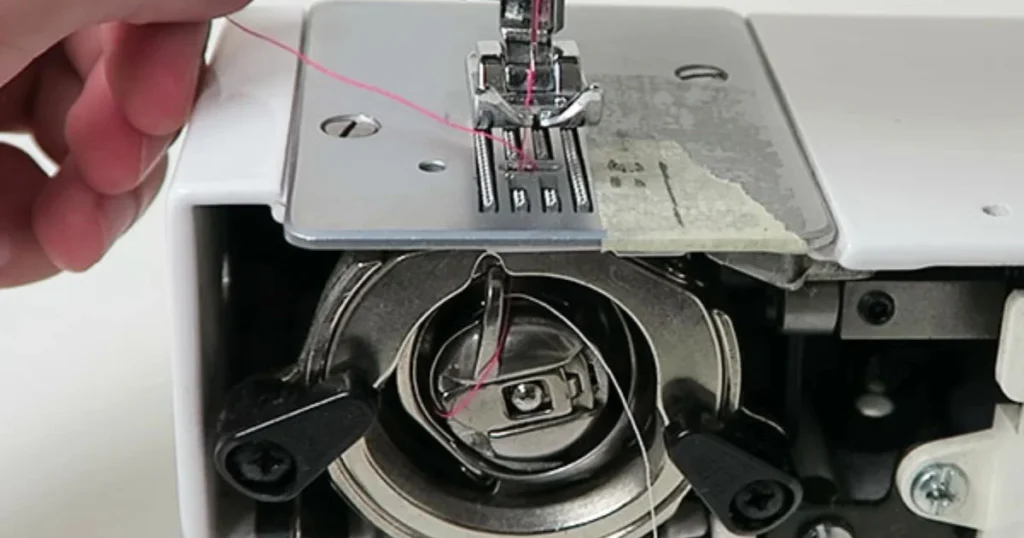
3. Adjusting the Bobbin Tension for Smooth Sewing:
Proper bobbin tension is important for balanced stitches. Follow these guidelines for adjusting the tension:
- Refer to your machine’s manual for the method of bobbin tension adjustment.
- If adjustable, locate the tension screw or dial associated with the bobbin case.
- Make slight adjustments using a small screwdriver or designated tool.
- Test the stitches on scrap fabric after each adjustment.
- Achieve the desired stitch quality by making incremental adjustments.
Troubleshooting common bobbin insertion problems:
Here are some troubleshooting tips for common bobbin insertion problems:
- Ensure correct positioning and check for any tangles or debris. Rewind the bobbin evenly.
- Adjust the bobbin tension following your machine’s manual.
- Stop the machine, remove the bobbin case or cover, and untangle the thread. Clean the area and ensure correct threading.
4. Adjusting Thread Tension:
Thread tension is crucial for achieving balanced stitches. Balanced thread tension ensures even stitches and prevents thread breakage or fabric puckering. It’s essential for achieving professional-looking results.
How to adjust thread tension for different fabrics?
- Begin with the default or balanced tension setting recommended for your machine.
- Stitch a sample seam on scrap fabric and observe the stitch quality.
- If the upper thread appears too tight and pulls the bobbin thread to the top, loosen the tension slightly.
- If the bobbin thread pulls the upper thread to the bottom, tighten the tension slightly.
- Make small adjustments to the tension dial and test the stitches after each adjustment.
- Continue making incremental adjustments until achieving balanced and even stitches.
- Consider fabric characteristics—thicker fabrics may require slightly looser tension, while delicate fabrics may need slightly tighter tension.
- Keep a record of tension adjustments for future reference.
5. Needle and Stitching Settings:
Regularly check the needle for any signs of damage, wear, or dullness. Replace the needle if necessary. Learn the easiest way to thread a sewing machine needle.
Selecting the appropriate needle for different fabrics:
Choose the right needle for your fabric type and weight. Use a universal needle for general-purpose fabrics, a ballpoint needle for knits, and a sharp needle for woven fabrics.
Adjusting stitch length and width for desired outcomes:
Customize stitch length and width based on your sewing project and fabric type. Use shorter stitches for secure seams or delicate fabrics, and longer stitches for basting or gathering.
Tips for changing thread colors and types during sewing projects:
- Cut the existing thread near the spool and remove it.
- Thread the new thread onto the spool pin.
- Guide the new thread through the machine, including tension discs, guides, and the needle.
Run the machine on scrap fabric to secure the new thread.
How to Properly Take Care of Your Sewing Machine?
Regularly clean and maintain your sewing machine to ensure optimal performance and stitch quality.
- Turn off and unplug the machine.
- Remove lint, dust, and debris using a small brush or lint brush.
- Clean the throat plate and bobbin area with a soft cloth or brush.
- Apply sewing machine oil to designated oiling points as recommended in your manual.
How to Troubleshoot Sewing Machine Issues?
Troubleshooting common sewing issues is necessary for a smooth stitching process. You can easily do it by following the given guidelines.
Thread breaking or tangling:
Check to thread and remove any obstructions.
Skipped stitches:
Ensure the needle is inserted correctly and select the appropriate needle size. Adjust thread tension if needed.
Machine not sewing straight:
Check the presser foot alignment and adjust the stitch width and length.
How to thread a butterfly sewing machine?
To thread a butterfly sewing machine, start by lifting the presser foot and placing the thread spool on the designated pin.
– Next, follow the threading path, passing the thread through tension discs and guides.
– Thread the needle from front to back and use the built-in needle threader if available.
– Wind and insert the bobbin, then raise the bobbin thread by turning the handwheel manually.
– Once the bobbin thread is up, your butterfly sewing machine is ready for use. For precise guidance, consult your machine’s manual.
How to thread an old sewing machine?
To thread an old sewing machine, begin by lifting the presser foot.
– Next, turn the handwheel to raise the needle to its highest position.
– Place a spool of thread on the spool pin and secure it with the spool holder.
– Take the thread through the thread guide, then wind it around the tension discs and down through the tension mechanism.
– Thread it through the take-up lever, guiding it through any additional thread guides on the machine.
– Pass the thread through the needle’s eye, from front to back.
– Pull a few inches of thread through the needle and lower the presser foot.
You’re now ready to start sewing with your old sewing machine.
FAQs:
What should I do if the thread keeps breaking while sewing?
Check the thread threading, needle condition, and size. Ensure you’re using high-quality thread suitable for the fabric. Clean the machine, adjust tension settings, and check the bobbin.
How do I wind a bobbin on a sewing machine?
Place the spool of thread on the machine, and guide the thread through the necessary guides. Then wind it around the bobbin, engage the bobbin winder, and let the machine wind the bobbin.
Why is my sewing machine skipping stitches?
Possible causes include a bent or dull needle, incorrect needle insertion, improper threading, tangled upper thread, incorrect tension settings, and lint or debris in the machine.
READ MORE: Sewing Machine Skipping Stitches And Shredding Thread
How often should I clean and maintain my sewing machine?
Clean the machine after every project or every few weeks if frequently used. Remove lint, dust, and loose threads. Oil the machine if required. Tighten loose screws or parts as needed. Consult the manual or seek professional servicing for issues.
Conclusion:
Threading a sewing machine may initially seem like a daunting task, but armed with the knowledge and step-by-step guidance provided in this article, you are now equipped to thread your machine with confidence and ease.
Share your thoughts, tips, and success stories in the comments below. Let’s create a vibrant community of sewing enthusiasts who inspire and support one another. Happy sewing!